Staying home, practicing social distancing and frequent hand washing are the best defenses against COVID-19. But if you do need to go out – to shop for groceries, visit a pharmacy or any trip to a public place – wearing a cloth face covering is now recommended, but not required.
Wearing a homemade cloth mask in public settings, where basic social distancing measures are difficult to maintain, can be an additional measure you can take to protect others around you. Homemade masks can be made simply and quickly (a folded linen napkin and elastics can do the trick) or with a bit more time you can sew a mask that’s functional, stylish, and washable.
Jennifer Tyron from Janome shares step-by-step instructions on how to quickly sew cloth homemade masks for your family and friends.
NOTE: For the most updated Public Health Canada Agency guidelines on COVID-19, visit Canada.ca/coronavirus
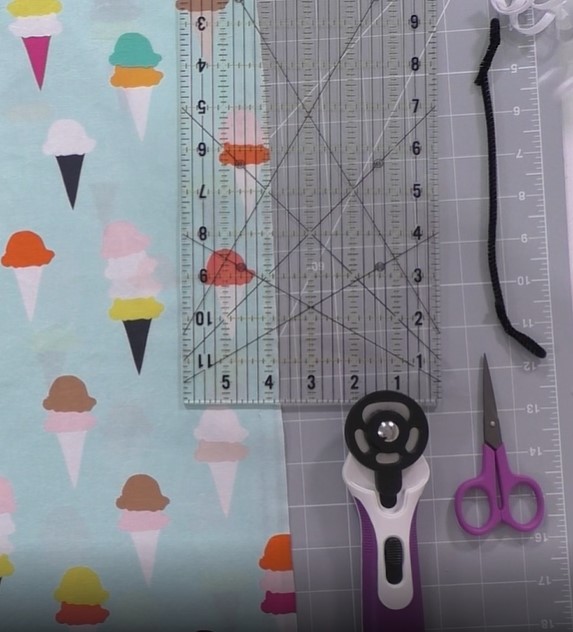
What you need:
- 100% cotton – cut to 9×7″
- rotary cutter
- quilting ruler
- self-healing mat
- scissors
- pipe cleaner or floral wire
- 1/4 inch elastic cut to 13″
Instructions:
- Fold your Yardage in half and cut it to 18 x 21″
- Measure 3 7″ sections and cut along the 21″ side of the fabric. Turn so that the 18″ section is facing you and cut two 9″ sections.
- You need 3 pieces to make one mask – so separate the pieces by fabric type.
- Using 2 9×7″ piece of fabric and put them right side together. Fold them in half and iron the crease and mark two inches on both sides by the crease line.
- Using your sewing machine, sew a straight line along the crease from the end of the fabric to the first mark. Then do the same on the other side.
- Cut two pieces of elastic – anywhere between 9 to 13 ” in length.
- Measure a 1/2″ down both sides and mark the fabric.
- Using clips, secure the elastic on the top and bottom. Repeat on the other side.
- Now with the third piece of fabric, lay it against the other pieces and secure with the clips making sure to keep the elastic in place.
- Sew down both sides, removing the clips but making sure everything stays secure.
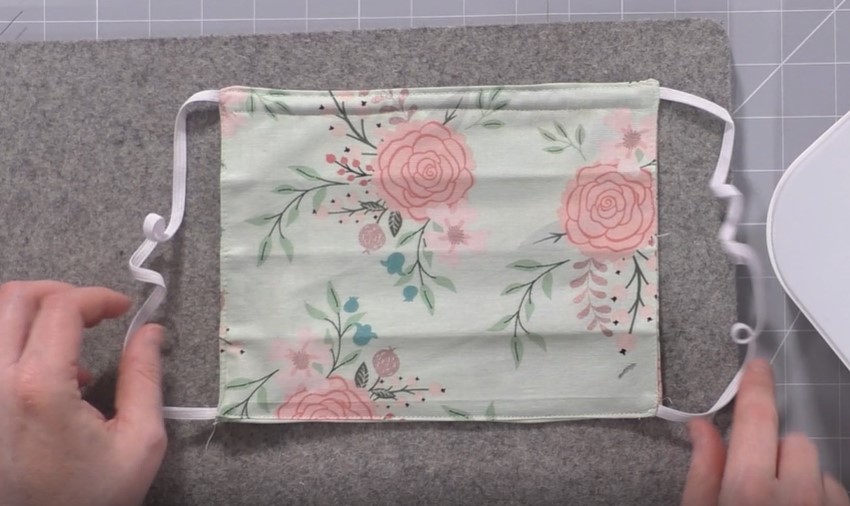
- Flip in the seams, just enough so that the elastics and fabric are flush. And repeat on the other side.
- Top stitch the edges – side, bottom, side.
- Using a pipe cleaner, tuck in to the top inside of the mask and sew the pipe cleaner in place. This gives the mask some stability, while still being flexible.
- Cut your filter to fit inside the mask, slide it in place and top stitch the remaining side.
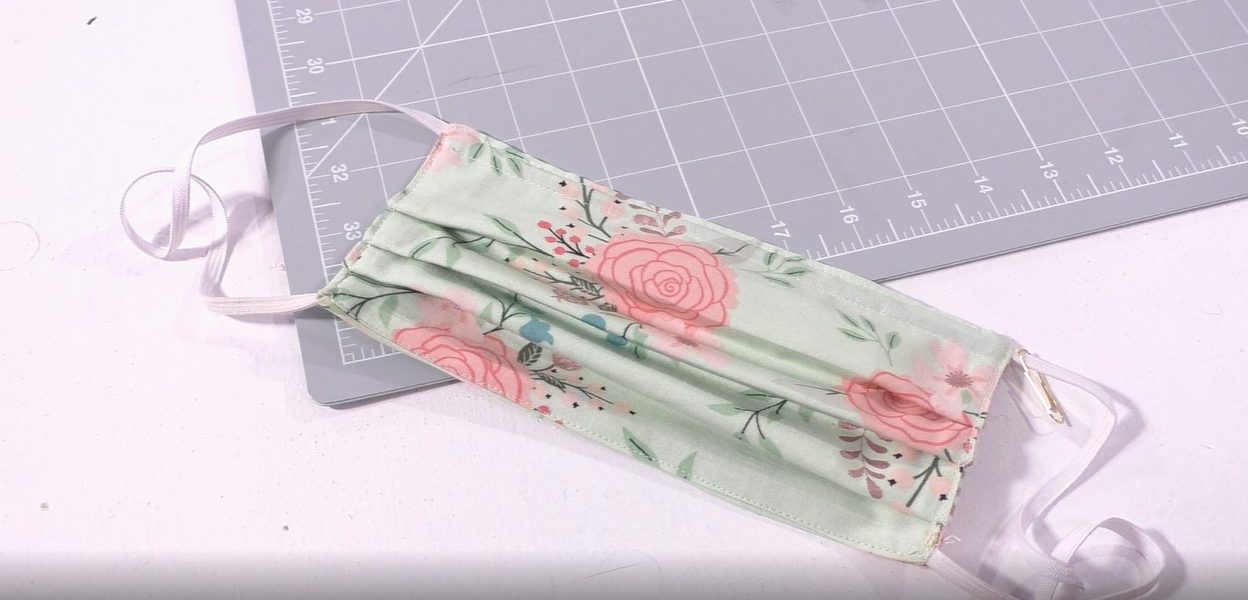
- Lay your mask pocket side up and fold the mask in half. Steam. Fold the top third. Steam. Fold the top bottom. Steam. This is to create the zigzag pattern of the mask.
- Pinch the first seam and bring it down to the next seam and clip it in place. Pinch the second seam to the third seam and clip.
- Top stitch along both sides to secure the folded zigzags. Flip the mask and top stitch it again.
Sewing Tips:
- If making multiple masks, layer up your fabric when cutting, to save time.
- Don’t forget to use some masculine or neutral fabrics to make makes for men.
- Steaming your seams after sewing really helps to press your fabric in place.
- The mask’s zigzag pattern at the front is designed to trap particles.
Hey,
It’s really awesome. Collecting things at one place is impressive. Honestly I like the tutorial and list of the product.
Thanks for sharing.